Finishing
Drywall Taping & Finishing in Shreveport, LA
The stage that decides how your walls look forever. Taped, coated and sanded to a finish level named on your quote, not left to interpretation.
Drywall Taping and Finishing to a Named Standard
Drywall taping and finishing in Shreveport is the stage where a job is actually won or lost. Hanging board is measurable work with an obvious result. Finishing is the part nobody sees being done and everybody sees afterward, every day, in every light. It is also the phase most commonly rushed, because compound has to dry between coats and dry time looks like idle time to anyone paying by the day.
We take on finishing as a standalone service. If you hung the board yourself, or a builder left you with taped-but-unfinished walls, or a previous crew walked off mid-job, this is the work that gets you to a paint-ready surface.
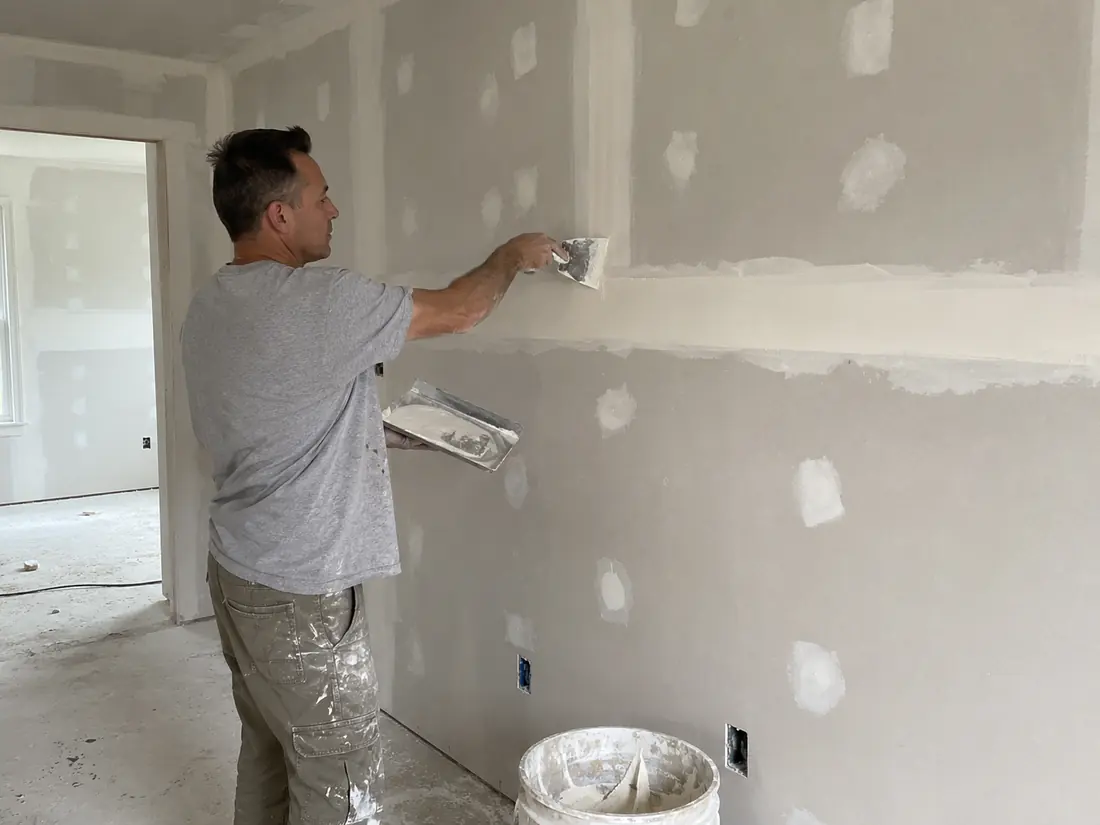
What's Included
- Inspection of the hung board before we start, including fastener depth, sheet gaps and any board that needs refastening. Finishing cannot correct a hanging problem, and we will identify those before quoting.
- Fastener setting. Screws that stand proud get set, screws that broke the paper get supplemented.
- Corner bead installation or correction where needed.
- Tape bedded in compound at every flat joint and inside corner, with the tape type matched to the joint.
- Second and third coats feathered progressively wider, each fully dried before the next.
- Sanding to the specified finish level, with dust controlled at the source.
- Low-angle light inspection across every surface before we call it complete.
- Primer coat available as an add-on, which we recommend for Level 5 work.
When You Need Finishing Work
You hung the board yourself
Hanging drywall is genuinely DIY-friendly. Finishing it is the part where most homeowners discover the gap between effort and result. Bringing in a finisher after doing your own hanging is a reasonable and common way to split a project.
A previous crew left it incomplete
Taped but not coated, or coated but never properly sanded. We can pick up mid-job, though we will assess what is already there first, because sometimes correcting bad tape work costs more than doing it from scratch.
Your walls show seams after painting
Visible ridges or bands along joint lines mean the coats were not feathered wide enough. This is fixable, but it means re-coating and re-sanding those joints, not painting over them again.
You are upgrading to gloss paint or adding strong lighting
Walls finished to Level 4 that looked perfect under flat paint can reveal every joint once you switch to semi-gloss or install directional lighting. Upgrading to Level 5 before repainting is the fix.
Our Process
Assess the hung board
We look at fastener depth, sheet gaps, board alignment and corner conditions before quoting. Finishing cannot fix a hanging problem, and pretending otherwise produces a wall that never looks right.
Set fasteners and correct board issues
Proud screws set, broken-paper fasteners supplemented, loose board refastened, oversized gaps filled with setting compound rather than bridged with tape alone.
Bed the tape
Tape embedded in a full bed of compound at every joint and inside corner, with excess worked out so there are no voids under the tape. Voids are where future cracks start.
Second coat
Feathered wider than the first, covering the tape completely and beginning to build the transition out from the joint.
Third coat
Feathered wider again. On butt joints this is where the extra width matters most, since there is no tapered edge to recess the buildup into.
Sand and inspect
Sanded to the specified level with dust controlled, then every surface checked under a low-angle work light before we hand it over.
Understanding Finish Levels
The Gypsum Association defines drywall finish in six levels in its GA-214 document. Most residential contractors never name a level on a quote, which makes it impossible to compare bids honestly. Here is what the ones that matter actually mean.
Level 3
Tape embedded plus one additional coat over tape and fasteners. Appropriate only where a heavy texture will be applied over the top. Not acceptable under paint alone.
Level 4
Tape embedded plus two additional coats over joints, and two coats over fasteners and bead, sanded smooth. This is the standard residential specification and the correct choice under flat paint or light texture. For most Shreveport homes, Level 4 is genuinely the right answer and we will say so rather than upsell.
Level 5
Everything in Level 4 plus a thin skim coat of compound across the entire surface. The purpose is uniformity of porosity: bare board and dried compound absorb paint differently, and under gloss or raking light that difference reads as visible joint patterns even when the joints themselves are flat. Level 5 is worth the money in exactly three situations: semi-gloss or gloss paint, strong side lighting from windows or sconces, and dark saturated paint colors, which show surface variation far more than light ones.
Which one you actually need
It is a function of your paint and lighting, not your budget. A well-executed Level 4 under flat paint looks perfect. A poorly executed Level 5 still looks bad. We would rather do Level 4 properly than Level 5 in a hurry.
Finishing in Shreveport's Humidity
Finishing is the phase most affected by our climate, and it is where corner-cutting is least visible at the time and most visible later.
Joint compound cures by giving up its water to the surrounding air. When the air is already carrying a heavy moisture load, as it does for much of the year here, that transfer slows down considerably. A joint that would be ready to recoat overnight in a dry January can still be holding moisture in the middle of an August afternoon. Coating over it traps that moisture under a sealed layer, and the result is delayed shrinkage, hairline cracking along the joint, and sometimes visible banding once paint goes on.
The crews that produce this problem are rarely careless. They are working to a fixed schedule that was quoted before anyone looked at the weather. We schedule coats against actual conditions, and when a project genuinely cannot wait, we use setting-type compound, which cures chemically rather than by evaporation and is far less sensitive to ambient humidity. It is more difficult to work with and costs more in labor, which is precisely why it is not the default.
What Affects the Price
Finishing is usually quoted by square foot of board or as a phase within a larger installation. What moves the number:
- Finish level. Level 5 requires a full skim coat over every surface, which is a substantial addition in both material and labor over Level 4.
- Condition of the hanging. Well-hung board with tight, aligned seams finishes faster. Board with wide gaps, misaligned sheets or over-driven fasteners requires corrective work first.
- Number of butt joints. Butt joints have no tapered edge, so they need much wider feathering to hide. A layout with many of them costs more to finish.
- Inside and outside corners. Corner count drives labor more than flat square footage does.
- Ceiling versus wall. Overhead finishing is slower and less forgiving.
- Occupied space. Dust control in a lived-in house takes real setup time.
Hung Your Own Board? We Will Finish It Properly.
Tell us the square footage and how the board is hung, and we will quote finishing to a named level. We will also tell you honestly if anything about the hanging needs correcting first, before it gets buried under compound.
Prefer to talk it through? Call (318) 666-5548.
Why Choose Us
Why Choose Us for Taping and Finishing
Shreveport Drywall Pro is a drywall specialist, not a general contractor who takes drywall on the side. Three things set the work apart.
We Name the Level on the Quote
The Gypsum Association's GA-214 defines finish in levels 0 through 5, but almost no residential quote mentions one. That makes bids impossible to compare, because a cheap Level 3 and a fair Level 4 look identical on paper. We specify the level in writing, room by room where it varies, so you know exactly what you are buying and what you are comparing against.
Gypsum Association GA-214 defines finish Levels 0 through 5Coats Scheduled on Dry Time, Not on the Calendar
Compound cures by releasing water into the air, and in our humidity that takes materially longer than the bag states. Stacking a coat onto a joint that is still damp traps moisture and produces the hairline cracking and visible banding that show up months after the painters have gone. We schedule against real conditions, and use setting-type compound when a deadline genuinely will not wait.
Setting-type compound used when humidity would otherwise delay the scheduleEvery Surface Checked Under Raking Light
Finishing flaws are effectively invisible under the flat overhead light of a work site and completely obvious under a window at four in the afternoon. Before we hand over any finished surface we run a bright light along it at a low angle, which is exactly how your own windows will light it. Whatever the light finds gets corrected before we leave rather than after your painter calls.
Low-angle light inspection on every finished surfaceFAQ
Drywall Taping & Finishing Questions
What is the difference between Level 4 and Level 5?
Level 4 covers tape and fasteners with compound and is sanded smooth, which is correct under flat paint or light texture. Level 5 adds a thin skim coat across the entire surface so that bare board and compound absorb paint identically. That difference is invisible under flat paint and very obvious under gloss or strong side lighting. Most Shreveport homes are correctly finished to Level 4.
Can you finish drywall I hung myself?
Yes, and it is a common request. We will inspect the hanging first and tell you if anything needs correcting, such as over-driven fasteners, wide gaps or misaligned sheets. Those are cheap to fix before finishing and expensive to fix afterward, because correcting them means removing finished work.
Why are my seams showing after painting?
Almost always because the coats were not feathered wide enough, so there is a subtle ridge along the joint that paint cannot hide. Butt joints are the usual culprits since they have no tapered edge. The fix is re-coating and re-sanding those joints with wider feathering, then repainting the wall.
How long does taping and finishing take?
For a typical room, three to five days. Very little of that is active labor. Most of it is dry time between three coats, and rushing it is the single most common cause of cracking and banding later. Humidity extends the schedule and we plan for it rather than pretending otherwise.
Do I need Level 5 for my whole house?
Almost certainly not. Level 5 earns its cost in rooms with gloss or semi-gloss paint, strong directional light, or dark saturated colors. A hallway with flat paint does not need it. We will recommend it room by room rather than as a blanket upgrade.
Do you control the dust?
Yes. Sanding drywall compound produces extremely fine dust that travels through a whole house and settles in HVAC systems. We contain at the source with sheeting on openings, seal return vents, and vacuum rather than sweeping.
Guides
More on Drywall Taping & Finishing
Service Area
Drywall Taping & Finishing Near You
We cover drywall taping & finishing across Shreveport and the surrounding parishes. Each area page covers what is specific to that community's housing and conditions.
Related Services
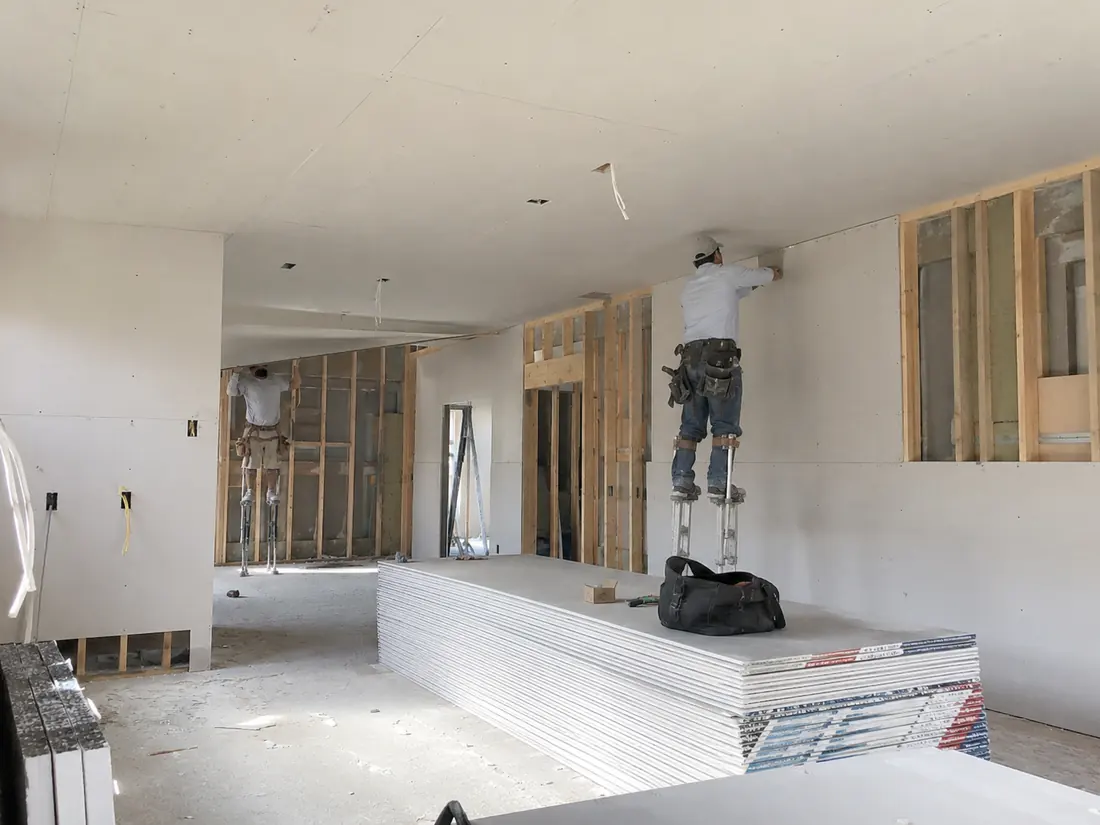
Drywall Installation
New board hung, taped and finished for additions, garage conversions, remodels and whole-home builds.
Learn more →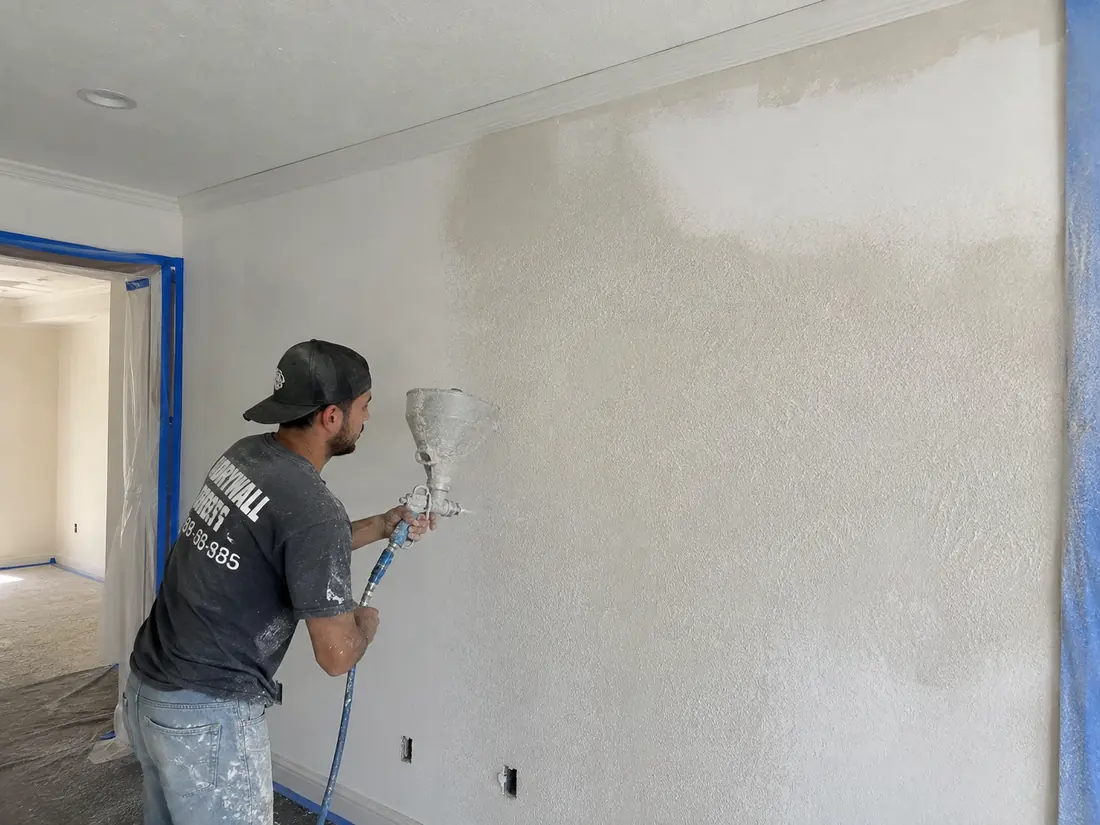
Drywall Texturing
Knockdown, orange peel, skip trowel and smooth Level 5 finishes, sprayed and matched to existing walls.
Learn more →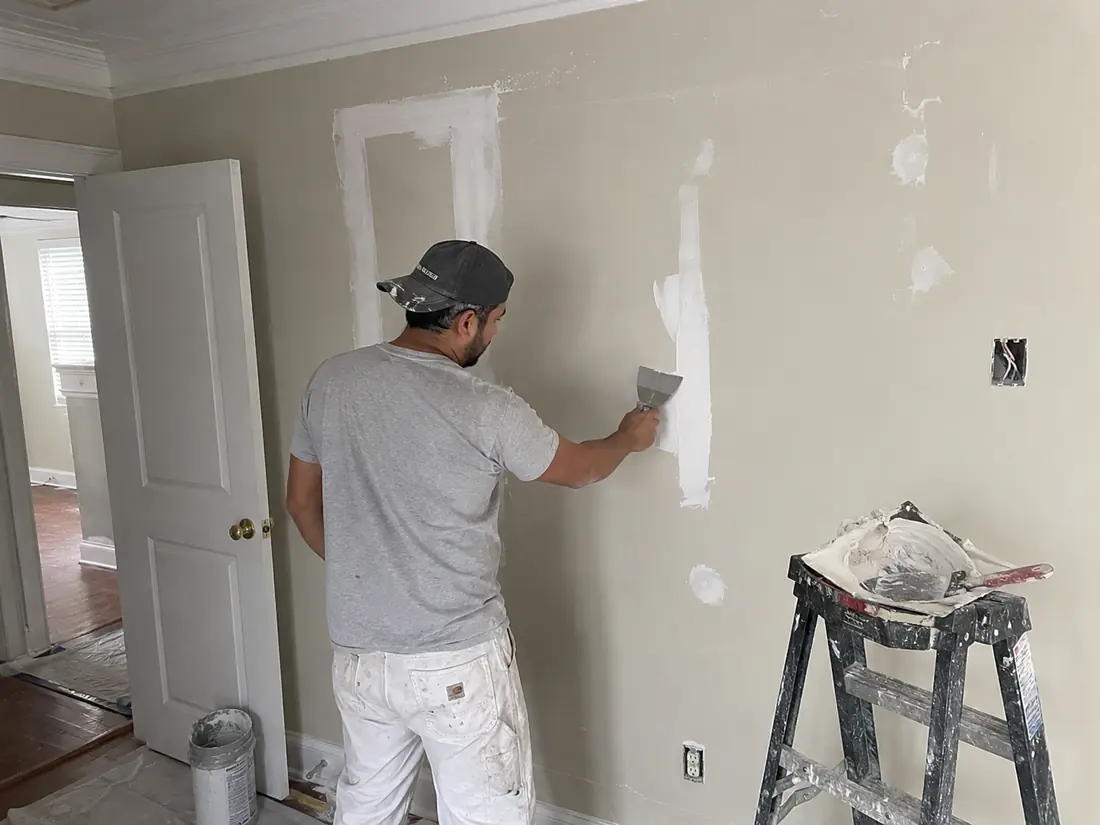
Drywall Repair
Holes, cracks, nail pops and settlement damage repaired and textured to match the surrounding wall.
Learn more →Not what you were looking for? See all drywall services or learn more about us.
Ready to get started?
Free written estimate, itemized before anything begins. We respond within 2 business hours.
Get a Free Quoteor call (318) 666-5548